How to Add & Setup Travel eSIM on iPhone and iPad (iOS)
Share
Traveling abroad and need mobile data without the hassle of physical SIM cards? Travel eSIMs offer a fast, flexible solution. This guide shows you how to install and activate a travel eSIM on your iPhone or iPad step-by-step.
Contents
- Before Installation
- 3 Ways to Add Your eSIM
- Activate Your Travel eSIM
- Tips for Travel eSIM on iPhone
✅ Before Installation
Ensure the following:
- A supported device (iPhone or iPad with cellular support)
- Basic Requirement: iPhone XR, XS, 11 series and newer, iPad Pro (with cellular), iPad Air 3rd gen and newer, iOS 12.1 or later (latest recommended). view more compatible iPhone models.
- Ensure your phone is carrier unlocked.

- A travel eSIM (QR code or manual activation info). Purchase a travel eSIM from abesetesim.com and we will send you the QR code instantly.
- Stable Wi-Fi connection
📲 3 Ways to Install Your eSIM
Connect your phone to stable Wi-Fi or a good 4G / 5G network.
Option 1: Scan a QR Code (Recommended)
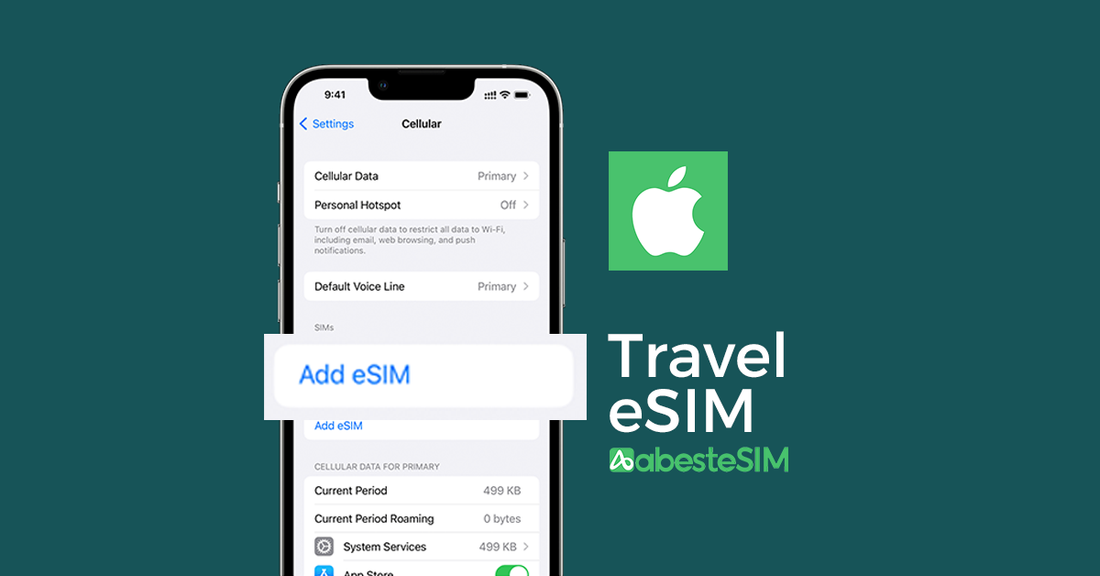
- Go to Settings > Cellular > Add eSIM


- Scan the QR code provided by your eSIM provider, for iOS 17+, you can save the QR code to your Photo then add from photo

- Activate the eSIM
- After successful QR code scan, Activate eSIM page will pop up. This is the routine steps for add eSIM to iPhone.
- If you are already at your destination for the eSIM you purchased, just follow the steps to activate the eSIM.

- If you are not yet at your destination, it may stuck in activating then shows "Unable to Activate eSIM". Just don't worry, this is normal for travele eSIM as you are not yet at your destination to connect to the supported network for this activation. Turn the eSIM off after this.

Option 2: Enter Activation Info Manually
- Go to Settings > Cellular > Add Cellular Plan
- Tap Enter Details Manually
- Input the:
- SM-DP+ Address
- Activation Code
- Follow the prompts until the eSIM is installed

Option 3: Use a Installation Quick Link (If Supported)
If you have an iPhone with iOS 17.4 and later, you can use the quick installation link to add eSIM to your phone. The installation link is sent via email by abestesim.com
🌍 Activate Your Travel eSIM
- Go to Settings > Cellular
- Tap on the newly added eSIM
- Turn on Cellular Data
- Turn on Data Roaming (needed for most travel eSIMs)
- Select the eSIM as the default line for data
- Wait a few seconds to see the signal bars appear


📌 Tips for Travel eSIM on iPhone
- Label Your eSIM by Destination
When you install an eSIM, iOS allows you to assign a label (e.g., “Japan eSIM”, “Europe Trip”, “Work US”).
➡️ Go to Settings > Cellular > Your eSIM > Cellular Plan Label
Naming each plan clearly helps you avoid confusion, especially when you use multiple eSIMs for different regions.
- Disable iMessage/FaceTime for eSIM Line (if data-only)
To avoid iMessage issues, make sure iMessage and FaceTime remain tied to your main number or Apple ID email instead of the eSIM.
➡️ Go to Settings > Messages > Send & Receive
➡️ Make sure your Apple ID or primary number is selected, not the travel eSIM - Switch Off Unused Lines
If you're not using your physical SIM while traveling (e.g., to avoid roaming), you can turn it off:
➡️ Settings > Cellular > Primary Line > Turn Off This Line
Want to try a travel eSIM now?
➡ Visit: https://abestesim.com to purchase your Travel eSIM instantly.
